HomeHOME > BLOG > IT/Software Development > Complete Flask Tutorial: From Basics to API Development
IT/Software Development

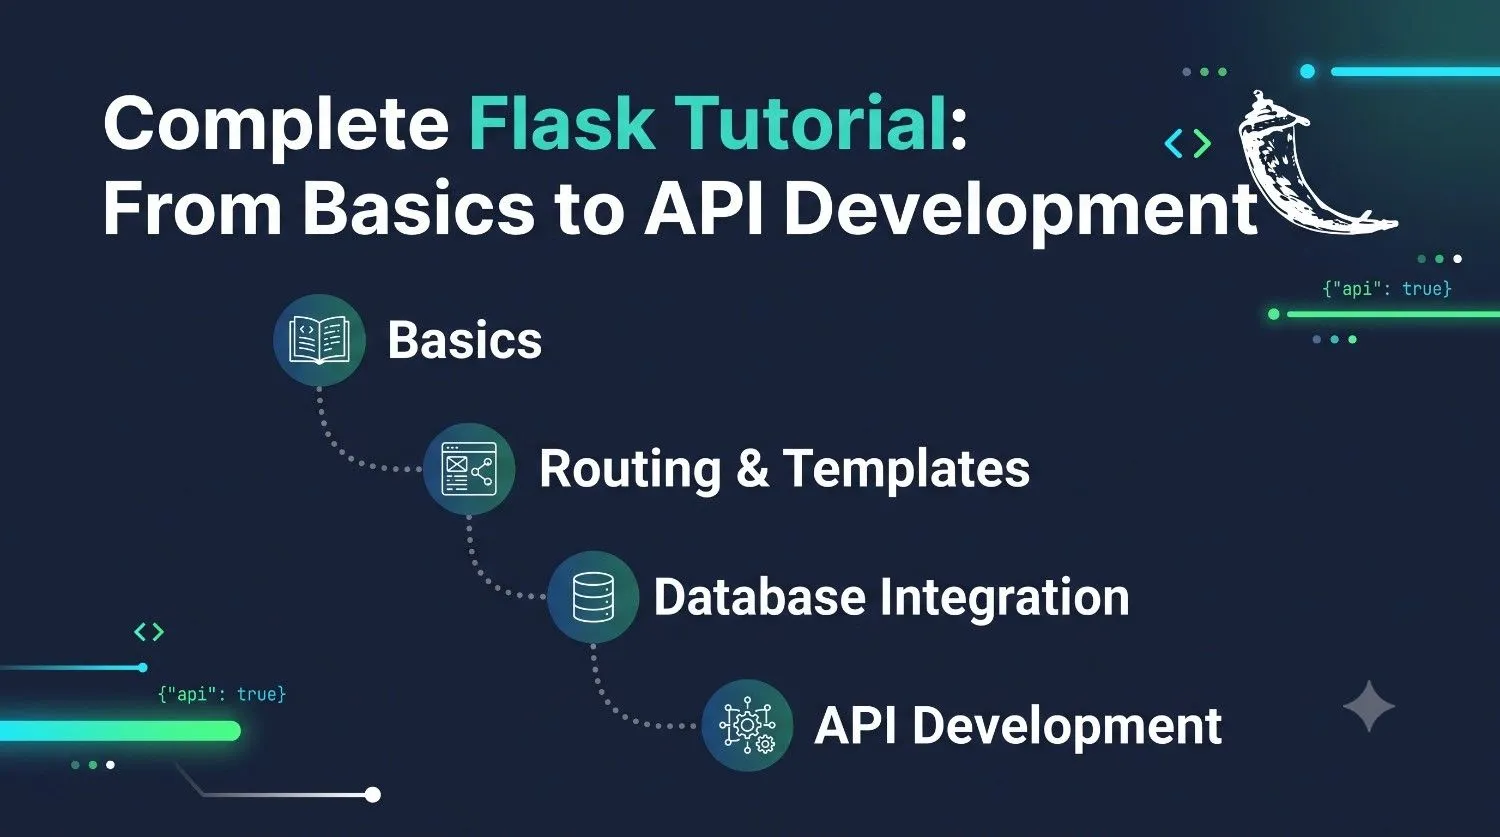
Complete Flask Tutorial: From Basics to API Development

J
By Shubham Lal
UpdatedOctober 8, 2026Read time8 min read
Published on October 8, 2026
SHARE THIS ARTICLE
Jaro Education Facebook PageJaro Education Instagram PageJaro Education Twitter PageJaro Education Whatsapp Page Jaro Education Linkedin PageJaro Education Youtube Page
Flask tutorial
Table of Contents

Table Of Content

  • What Is Flask and Why Should You Learn It?
  • Flask Tutorial for Beginners: Setting Up Your Environment
  • Your First Flask App: Hello, World
  • Understanding Routes and Dynamic URLs
SummaryKey Insights
  • Flask is a lightweight and flexible Python web framework that is beginner-friendly and suitable for building web applications, REST APIs, and microservices.
  • This tutorial covers the fundamentals of Flask, including environment setup, routes, dynamic URLs, Jinja2 templates, forms, user input, and database integration with Flask-SQLAlchemy.
  • The Flask API tutorial explains how to build a REST API with CRUD operations using GET, POST, PUT, and DELETE methods, along with API testing using tools such as Postman, Insomnia, and curl.
  • The blog highlights important development practices, including error handling, Blueprints for project organization, JWT authentication, input validation, API versioning, testing, and avoiding debug mode in production.
  • In this blog, you'll learn how to build a Flask application from the basics to REST API development, including templates, forms, databases, authentication, error handling, project organization, and deployment basics.

If you've been looking for a beginner-friendly Flask tutorial that actually takes you from "Hello, World" to building a working REST API, you're in the right place. Flask is one of the most loved web frameworks in the Python world, and for good reason. It's small, flexible, and easy to learn, yet powerful enough to run real production applications. 

In this Python Flask tutorial, we'll go step by step. You'll set up your environment, build your first app, work with templates and forms, connect a database, and finally create a complete API. No heavy jargon, just clear explanations and working code.

✦Summarize this Article with AI

What Is Flask and Why Should You Learn It?

Flask is a lightweight web framework written in Python. It’s often called a “micro-framework” because it doesn’t force you into a fixed structure or come with a lot of built-in tools. You start with the basics and add only what you need.   

Here’s why developers like it:

  • Simple to start: You can build a working web app in just five lines of code.
  • Flexible: You choose your own database, tools, and project structure.
  • Great for APIs: Perfect for building REST APIs and microservices.
  • Large community: Plenty of extensions, tutorials, and answers on forums.
  • Beginner-friendly: If you know basic Python, you can pick it up quickly.   

Companies use Flask for everything from small internal tools to machine learning model deployment. That makes this Flask tutorial a skill worth investing in. 

Also Read:

Flask Tutorial for Beginners: Setting Up Your Environment

Before writing code, let’s set up a clean workspace.

Step 1: Install Python

Make sure Python 3.8 or higher is installed. Check with:

python –version

Step 2: Create a Virtual Environment

A virtual environment keeps your project’s packages separate from other projects. It’s a habit worth building early.

mkdir flask_project
cd flask_project
python -m venv venv

Activate it:

  • Windows: venv\Scripts\activate
  • Mac/Linux: source venv/bin/activate

Step 3: Install Flask

pip install flask

That’s it. You’re ready to build.

Your First Flask App: Hello, World

Create a file named app.py and add this:

from flask import Flask

app = Flask(__name__)

@app.route(“/”)
def home():
    return “Hello, World!”

if __name__ == “__main__”:
    app.run(debug=True)

Run it:

python app.py

Open http://127.0.0.1:5000 in your browser, and you’ll see your message.

What just happened?

  • Flask(__name__) creates the application.
  • @app.route(“/”) is a decorator that links a URL to a function.
  • debug=True turns on debug mode, which reloads the server automatically when you change code and shows helpful error messages.  

Never use debug mode in production, as it can expose sensitive information.

Understanding Routes and Dynamic URLs

Routes decide what happens when someone visits a particular URL. Flask makes this easy.

@app.route(“/about”)
def about():
    return “This is the About page.”

@app.route(“/user/<name>”)
def user(name):
    return f”Hello, {name}!”

Visit /user/Riya and you’ll see “Hello, Riya!”. The <name> part is a variable that Flask passes to your function.

You can also specify types:

@app.route(“/post/<int:post_id>”)
def show_post(post_id):
    return f”Post number {post_id}”

Supported converters include string, int, float, and path.

Handling HTTP Methods

By default, routes only accept GET requests. To accept others, specify them:

@app.route(“/submit”, methods=[“GET”, “POST”])
def submit():
    return “Form handled!”

This will be especially useful when we get to the API section.

Python Flask Tutorial: Working With Templates

Returning plain text is fine for testing, but real websites need HTML. Flask uses Jinja2, a template engine, to build dynamic pages.

Create a folder called templates and add a file index.html:

<!DOCTYPE html>
<html>
<head>
    <title>My Flask App</title>
</head>
<body>
    <h1>Welcome, {{ name }}!</h1>
    <ul>
        {% for item in items %}
            <li>{{ item }}</li>
        {% endfor %}
    </ul>
</body>
</html>

Now render it from your route:

from flask import render_template

@app.route(“/”)
def home():
    return render_template(“index.html”, name=”Aman”, items=[“Python”, “Flask”, “APIs”])

Key things to know about Jinja2:

  • {{ }} prints a variable.
  • {% %} runs logic like loops and conditions.
  • Templates can inherit from a base layout using {% extends “base.html” %}, which saves you from repeating headers and footers.

Static files like CSS, JavaScript, and images go in a folder called static. You can link to them with url_for(‘static’, filename=’style.css’).

Handling Forms and User Input

Let’s build a simple form that takes a user’s name.

form.html

<form method=”POST” action=”/greet”>
    <input type=”text” name=”username” placeholder=”Enter your name”>
    <button type=”submit”>Submit</button>
</form>

app.py

from flask import request, render_template

@app.route(“/form”)
def form():
    return render_template(“form.html”)

@app.route(“/greet”, methods=[“POST”])
def greet():
    username = request.form.get(“username”)
    return f”Nice to meet you, {username}!”

The request object holds everything about the incoming request: form data, query parameters, headers, and JSON.

  • request.form → form data
  • request.args → query string (e.g., ?page=2)
  • request.json → JSON body

For larger apps, look into Flask-WTF, which adds form validation and CSRF protection.

Free Courses
Online MBA Degree ProgrammeOnline MBA Degree Programme
Python for Data Analysis
  • Duration Icon
    Duration : 11 - 15 Hours
  • Aplication Date Icon
    Application Closure Date :
Enquiry Now
Online MBA Degree ProgrammeOnline MBA Degree Programme
SQL Essentials for Business Professionals
  • Duration Icon
    Duration : 15-18 Hours
  • Aplication Date Icon
    Application Closure Date :
Enquiry Now

Connecting a Database With Flask-SQLAlchemy

Almost every real application needs to store data. The most popular choice is Flask-SQLAlchemy, an ORM that lets you work with databases using Python classes instead of raw SQL.

Install it:

pip install flask-sqlalchemy

Set it up:

from flask import Flask
from flask_sqlalchemy import SQLAlchemy

app = Flask(__name__)
app.config[“SQLALCHEMY_DATABASE_URI”] = “sqlite:///tasks.db”
db = SQLAlchemy(app)

class Task(db.Model):
    id = db.Column(db.Integer, primary_key=True)
    title = db.Column(db.String(100), nullable=False)
    done = db.Column(db.Boolean, default=False)

    def to_dict(self):
        return {“id”: self.id, “title”: self.title, “done”: self.done}

with app.app_context():
    db.create_all()

Here’s what’s happening:

  • We’re using SQLite, which needs no installation and is perfect for learning.
  • Task is a model, which maps to a table in the database.
  • db.create_all() creates the tables if they don’t exist.
  • The to_dict() method converts a task into a dictionary, which makes it easy to return as JSON later.

Later, you can switch to PostgreSQL or MySQL by changing just the connection string.

Flask Tutorial

Flask API Tutorial: Building a REST API Step by Step

Now for the part many of you are waiting for. This Flask API tutorial section will walk you through building a simple Task Manager API with full CRUD operations: Create, Read, Update, and Delete.

What Is a REST API?

A REST API lets different applications talk to each other over HTTP. It uses standard methods:

MethodPurposeExample
GETFetch dataGet all tasks
POSTCreate dataAdd a new task
PUTUpdate dataEdit a task
DELETERemove dataDelete a task

Step 1: Get All Tasks

from flask import jsonify, request

@app.route(“/api/tasks”, methods=[“GET”])
def get_tasks():
    tasks = Task.query.all()
    return jsonify([task.to_dict() for task in tasks])

jsonify converts Python data into a proper JSON response with the right headers.

Step 2: Get a Single Task

@app.route(“/api/tasks/<int:task_id>”, methods=[“GET”])
def get_task(task_id):
    task = Task.query.get_or_404(task_id)
    return jsonify(task.to_dict())

get_or_404 automatically returns a 404 error if the task doesn’t exist.

Step 3: Create a Task

@app.route(“/api/tasks”, methods=[“POST”])
def create_task():
    data = request.get_json()

    if not data or “title” not in data:
        return jsonify({“error”: “Title is required”}), 400

    task = Task(title=data[“title”])
    db.session.add(task)
    db.session.commit()
    return jsonify(task.to_dict()), 201

Notice the status code 201, which means “Created”. Using correct status codes is a mark of a well-designed API.

Step 4: Update a Task

@app.route(“/api/tasks/<int:task_id>”, methods=[“PUT”])
def update_task(task_id):
    task = Task.query.get_or_404(task_id)
    data = request.get_json()

    task.title = data.get(“title”, task.title)
    task.done = data.get(“done”, task.done)
    db.session.commit()
    return jsonify(task.to_dict())

Step 5: Delete a Task

@app.route(“/api/tasks/<int:task_id>”, methods=[“DELETE”])
def delete_task(task_id):
    task = Task.query.get_or_404(task_id)
    db.session.delete(task)
    db.session.commit()
    return jsonify({“message”: “Task deleted”})

Congratulations, you now have a working REST API.

Testing Your API

You can test using Postman, Insomnia, or simply curl:

curl -X POST http://127.0.0.1:5000/api/tasks \
  -H “Content-Type: application/json” \
  -d ‘{“title”: “Learn Flask”}’

Then fetch all tasks:

curl http://127.0.0.1:5000/api/tasks

Error Handling the Right Way

Good APIs return clear, consistent errors instead of ugly HTML pages. Flask lets you register custom error handlers.

@app.errorhandler(404)
def not_found(error):
    return jsonify({“error”: “Resource not found”}), 404

@app.errorhandler(500)
def server_error(error):
    return jsonify({“error”: “Something went wrong on our end”}), 500

Now every 404 or 500 error returns clean JSON that frontend developers can easily handle.

Organizing Your Project With Blueprints

As your app grows, putting everything in one file becomes messy. Flask offers Blueprints to split your app into logical pieces.

# routes/tasks.py
from flask import Blueprint, jsonify

tasks_bp = Blueprint(“tasks”, __name__, url_prefix=”/api/tasks”)

@tasks_bp.route(“/”, methods=[“GET”])
def list_tasks():
    return jsonify({“message”: “All tasks”})

Register it in your main file:

from routes.tasks import tasks_bp
app.register_blueprint(tasks_bp)

A clean project structure often looks like this:

flask_project/
│
├── app/
│   ├── __init__.py
│   ├── models.py
│   ├── routes/
│   │   ├── tasks.py
│   │   └── users.py
│   └── config.py
├── requirements.txt
└── run.py

Adding Authentication With JWT

Most real APIs need to protect certain endpoints. A popular approach is JWT (JSON Web Tokens) using the flask-jwt-extended package.

pip install flask-jwt-extended

from flask_jwt_extended import JWTManager, create_access_token, jwt_required

app.config[“JWT_SECRET_KEY”] = “change-this-secret”
jwt = JWTManager(app)

@app.route(“/api/login”, methods=[“POST”])
def login():
    data = request.get_json()
    if data[“username”] == “admin” and data[“password”] == “1234”:
        token = create_access_token(identity=data[“username”])
        return jsonify(access_token=token)
    return jsonify({“error”: “Invalid credentials”}), 401

@app.route(“/api/protected”)
@jwt_required()
def protected():
    return jsonify({“message”: “You have access!”})

The client logs in, receives a token, and sends it in the Authorization: Bearer <token> header with later requests. In a real application, always hash passwords (use werkzeug.security) and store secrets in environment variables, never in your code.

Also Read:

Best Practices for Flask API Development

Once you’re comfortable with the basics, these habits will make your code cleaner and safer:

  1. Use environment variables for secrets and configuration (try python-dotenv).
  2. Validate input with libraries like Marshmallow or Pydantic.
  3. Use proper status codes: 200, 201, 400, 401, 404, and 500 cover most cases.
  4. Version your API (for example, /api/v1/tasks) so you can make changes without breaking existing users. 
  5. Enable CORS with flask-cors if your frontend runs on a different domain.  
  6. Write tests using pytest and Flask’s built-in test client. 
  7. Document your API using Swagger or Flask-RESTX.
  8. Never run debug mode in production. 

Deploying Your Flask App

Flask’s built-in server is only for development. For production, use a proper WSGI server such as Gunicorn:

pip install gunicorn
gunicorn -w 4 app:app

Popular deployment options include:

  • Render and Railway: beginner-friendly deployment platforms
  • Heroku: a platform for deploying web applications
  • AWS, Google Cloud, Azure: for larger, scalable projects
  • Docker: package your app into a container that runs consistently across environments

Pair Gunicorn with Nginx as a reverse proxy for better performance and security on your own servers.

Common Mistakes Beginners Make While Using Flask

Learning from other people’s slip-ups saves time: 

  • Skipping virtual environments, which leads to package conflicts.
  • Forgetting app.app_context() when working with the database outside a request.
  • Hardcoding secrets like passwords and API keys. 
  • Not handling errors, which leaves users with confusing responses.
  • Putting everything in one file until it becomes impossible to manage.   
  • Forgetting to commit the database session after changes.

Final Thoughts

Flask proves that web development doesn’t have to be complicated. In this Flask tutorial, you’ve covered routes, templates, forms, databases, a full REST API, authentication, error handling, and deployment basics.  

The best next step is to build something of your own, such as a to-do app, a notes API, a blog backend, or a simple expense tracker. Every bug you fix and every feature you add will teach you more than any article can. 

Keep this flask api tutorial handy as a reference, experiment with the code, and don’t be afraid to break things. That’s how great developers are made.  

Happy coding!

Frequently Asked Questions

Yes. Flask continues to be popular for APIs, microservices, prototypes, and machine learning deployments. Its simplicity makes it a great starting point, and the concepts you learn carry over easily to other frameworks. 

Both are excellent. Flask is mature, flexible, and has a huge ecosystem. FastAPI is newer, faster for async workloads, and generates API documentation automatically. If you’re new to web development, a good Flask tutorial is an easy way to understand the fundamentals, and moving to FastAPI later will feel natural.   

Absolutely. With good structure (Blueprints, application factories), a production server like Gunicorn, caching, and a solid database setup, Flask can power high-traffic applications. Many companies run Flask in production at scale.  

If you already know Python basics, you can build simple apps in a few days. Getting comfortable with databases, authentication, and API design usually takes two to four weeks of regular practice. Following a hands-on Python Flask tutorial and building small projects is the fastest way to learn. 

Shubham Lal

Shubham Lal

Lead Software Developer
Shubham Lal joined Microsoft in 2017 and brings 8 years of experience across Windows, Office 365, and Teams. He has mentored 5,000+ students, supported 15+ ed-techs, delivered 60+ keynotes including TEDx, and founded AI Linc, transforming learning in colleges and companies.

Get Free Upskilling Guidance

Fill in the details for a free consultation

*By clicking "Submit Inquiry", you authorize Jaro Education to call/email/SMS/WhatsApp you for your query.

Find a Program made just for YOU

We'll help you find the right fit for your solution. Let's get you connected with the perfect solution.

Confused which course is best for you?

Is Your Upskilling Effort worth it?

LeftAnchor ROI CalculatorRightAnchor
Confused which course is best for you?
Are Your Skills Meeting Job Demands?
LeftAnchor Try our Skill Gap toolRightAnchor
Confused which course is best for you?
Experience Lifelong Learning and Connect with Like-minded Professionals
LeftAnchor Explore Jaro ConnectRightAnchor
EllispeLeftEllispeRight